
How to read a marine cylinder before hydrotesting
Use the permanent markings, equipment purpose and visible condition to identify a cylinder before the station assesses its test route.
Sources checked July 31, 2026
A colour, diameter or handwritten label is not enough to identify a pressure cylinder. The useful evidence is the permanent marking set together with the cylinder's construction, valve, intended use and service history.
Marking systems and retest intervals are not universal. They vary with the cylinder specification, material, contents, approval and the rules applied to it. Photograph what is actually marked and let the station assess it before a batch is transported.
Build a complete photograph set
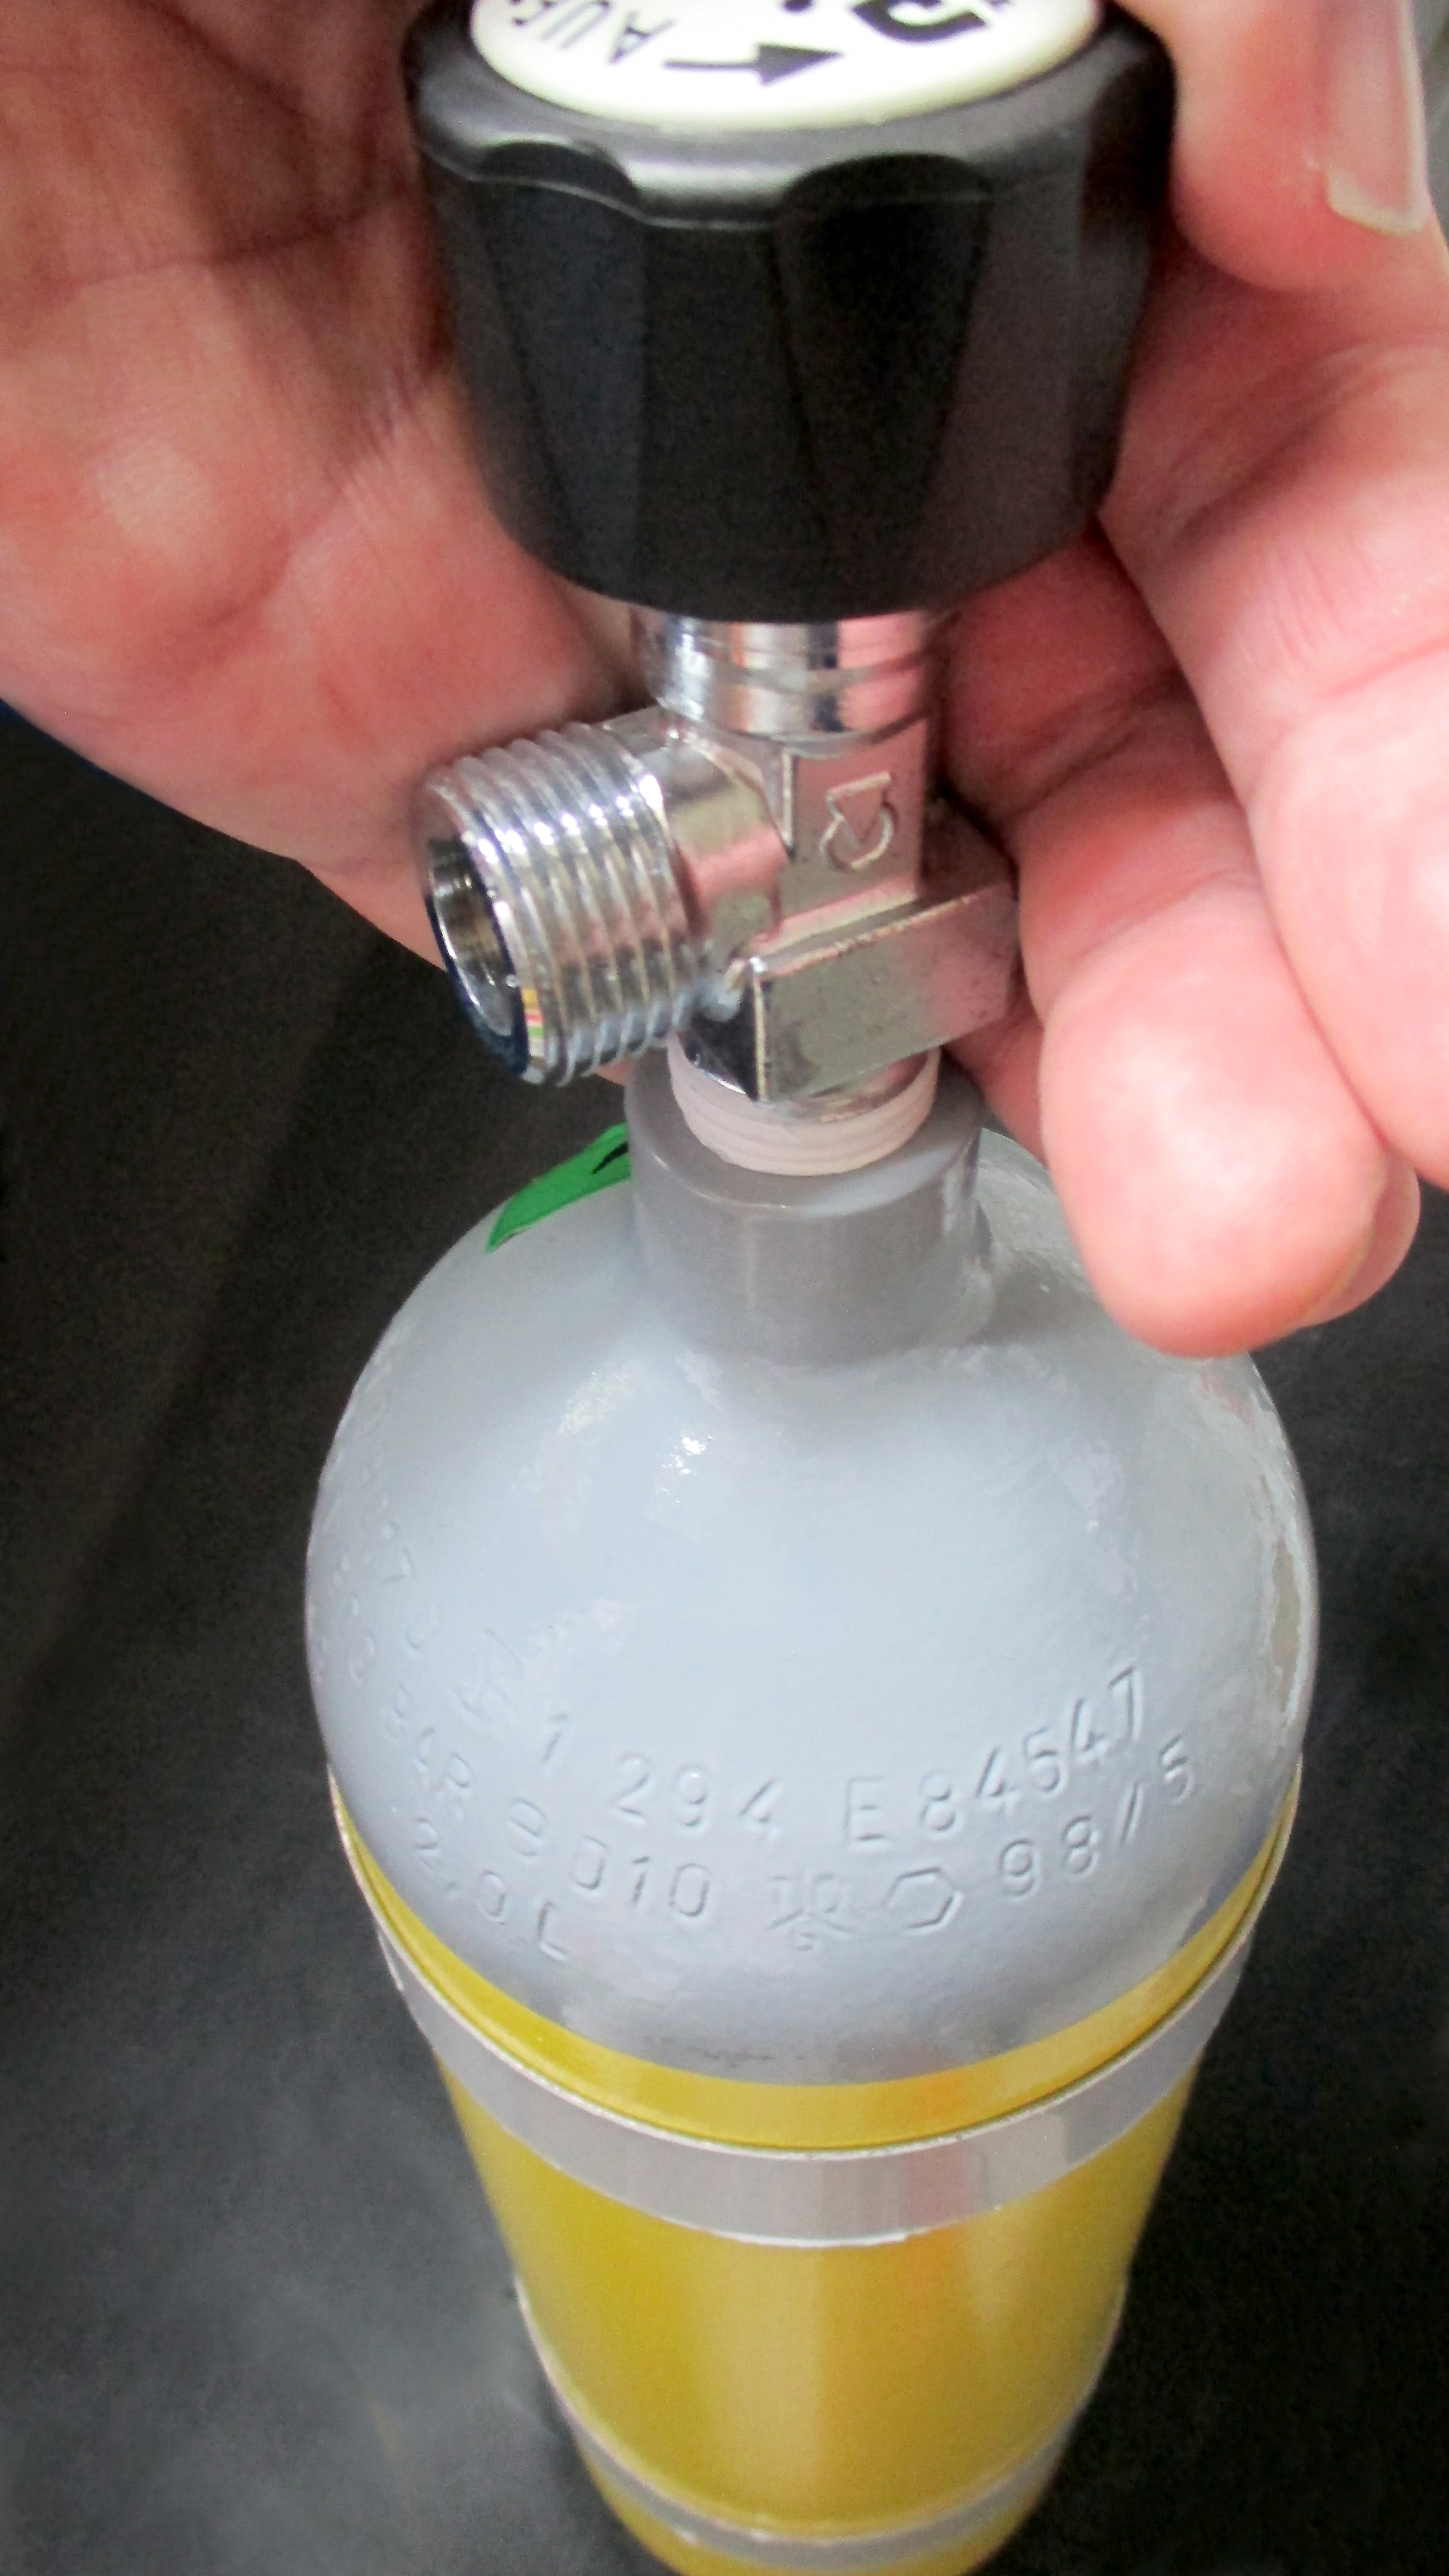
Start with one full-length photograph showing the cylinder, valve and any protective boot or guard. Then photograph the permanent marks around the neck, shoulder or label area in overlapping frames so no part of the marking string is cut off. Use even light and take a second angle when curved metal creates glare.
Keep the photographs grouped per cylinder. For a large batch, place a removable numbered tag beside the cylinder and use the same reference in the equipment list. Do not stamp a new number, grind the surface or remove paint to make a mark easier to read.
Identifies the manufacturing specification or approval scheme. Read the complete reference; similar-looking cylinders can belong to different schemes.
Metal cylinders can carry stamped markings; composite cylinders may carry a manufacturer label. Photograph the actual marking area on your equipment. Do not remove a valve or alter the surface for identification.
Field meanings: Luxfer marking reference. Diagram source check: 6 September 2026. Locations shown are illustrative.
- Full cylinder, valve and protective fittings
- Permanent marks photographed around the complete circumference
- Original manufacturer label where fitted
- Latest requalification or test marking
- Removable vessel reference for each photographed unit
Separate cylinder identity from test history
The original marking set commonly identifies the manufacturing specification or approval, manufacturer, serial number, service or working pressure and initial test information. Later requalification marks record inspection or test events under the applicable scheme. Their layout can differ, so do not assume every pair of digits is a month and year or that the newest-looking stamp is valid for the cylinder.
Copy each character exactly as it appears, including prefixes, suffixes and symbols. If a mark is unclear, label it unreadable in the request instead of completing it from another cylinder in the batch. The station needs the photograph because a transcription can lose the order and position of the marks.
_-_Bild_002.jpg)
- Specification, approval or special-permit reference
- Manufacturer or registered maker symbol
- Serial number
- Service or working pressure and test pressure where marked
- Initial and later test or requalification marks
Connect the cylinder to its onboard purpose
Tell the station whether the cylinder belongs to self-contained breathing apparatus, a fire extinguisher, a fixed suppression system, diving equipment or another installation. Include the contents or extinguishing agent where known, the cylinder material if documented and the equipment manufacturer and model.
This context matters because a similar-looking cylinder may follow a different inspection standard or service route. UK marine guidance, for example, separates recommendations for seamless steel, aluminium, composite and certain gas services. The correct route begins with the exact cylinder, not with a generic hydrotest interval.
- SCBA, fire extinguisher, fixed system, diving or other use
- Contents or agent where known
- Cylinder material where documented
- Equipment or system manufacturer and model
- Vessel location and quantity
Show condition before deciding to move it
Photograph corrosion, dents, cuts, gouges, heat exposure, bulges, damaged threads, a questionable valve or deterioration of a composite wrap. Include the base and any surface normally hidden by a boot, harness or clamp. A photograph cannot prove internal condition, but it can reveal a reason for the station to ask for different handling or decline intake.
- Base and areas hidden by boots, bands or harnesses
- Corrosion, dents, cuts, gouges or heat damage
- Valve, threads and protective guard
- Composite wrap, resin and label condition where applicable
- Any known leak, impact or exposure history
Organise a mixed batch before handover
Group cylinders by purpose and identical marking set, but keep an individual serial-number list. Record which complete equipment set each cylinder came from, particularly for SCBA units or fixed-system banks. Send the current service report or certificate and identify any unit that does not appear on it.
State the quantity, vessel, current location and required return date. If cylinders are part of an operational fire-suppression or breathing-air arrangement, plan how that capability will be maintained while the equipment is ashore.
- Individual serial-number register
- Groups separated by purpose and specification
- Latest certificate or service report matched to the batch
- Required return date and operational-cover question
- One vessel contact responsible for the handover
Confirm the test route before transport
Send the photographs and register before moving the batch. The station will use the markings, material, use and condition to assess whether the cylinder falls within its capability and which inspection or test route may apply. A request is not an acceptance decision, and an old test mark does not guarantee that a cylinder can be requalified again.
Pressure cylinders and their contents can be regulated as dangerous goods during transport. Confirm the cylinder state, valve protection, packaging, carrier and route with the party responsible for transport. The station's service assessment does not replace those transport obligations.
- Markings and condition reviewed by the station
- Cylinder type within station capability
- Handover date and return requirement confirmed
- Safe transport state and carrier requirements resolved
Official sources
Manufacturer and authority references for this guide. Check the current requirements for your equipment and vessel.
- MGN 374 (M+F) Amendment 1 — inspection and testing of pressurised gas cylinders
UK Maritime and Coastguard Agency
- Cylinder requalifiers and authorised testing methods
US Pipeline and Hazardous Materials Safety Administration